

Fenwick’s Airtight Sealant
by John · 21/11/2013
Going tubeless – not quite the long and the short of it
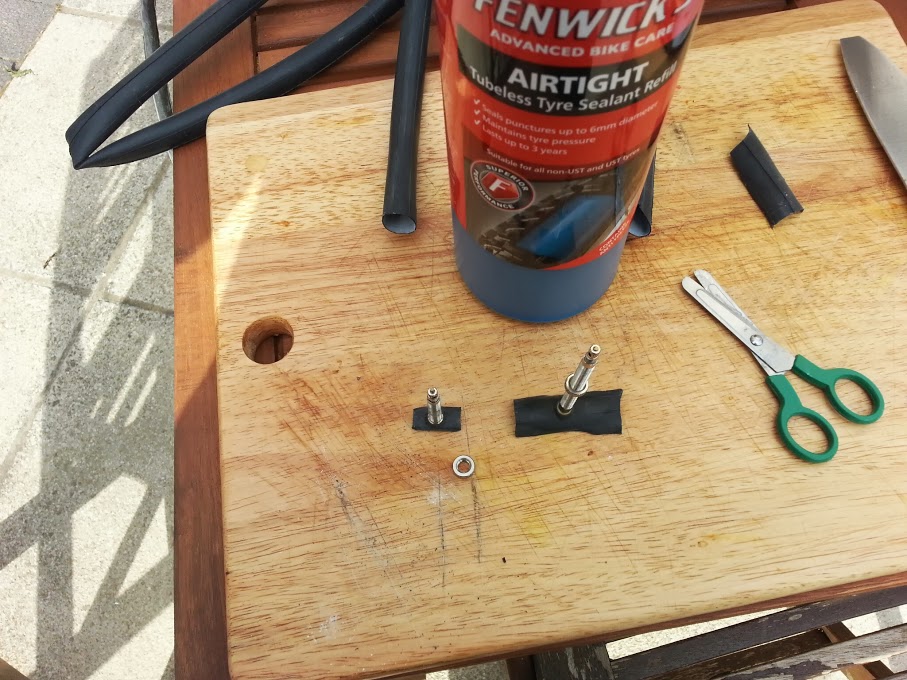
We ended up with useable long and short valve stems, though these were not that great to start with and it took a bit of trial and error to get it right. In the end we found that the trick is to cut them as small as possible at the base where they were joined to the tube, so that there’s enough rubber to seal the rim’s valve hole but not enough to interfere with the seating of the tyre. A bit of Arirtight applied around the base of the valve and the rim’s valve hole, seals it quite nicely once you start to inflate.
The next step in going tubeless is very messy and, once we’d done it a few times and gotten over the initial excitement, it became just that – a messy affair. You need to paint Airtight onto both the rim and the inside of the tyre, before pouring a portion of sealant into the tyre once it’s almost fully mounted on the rim.
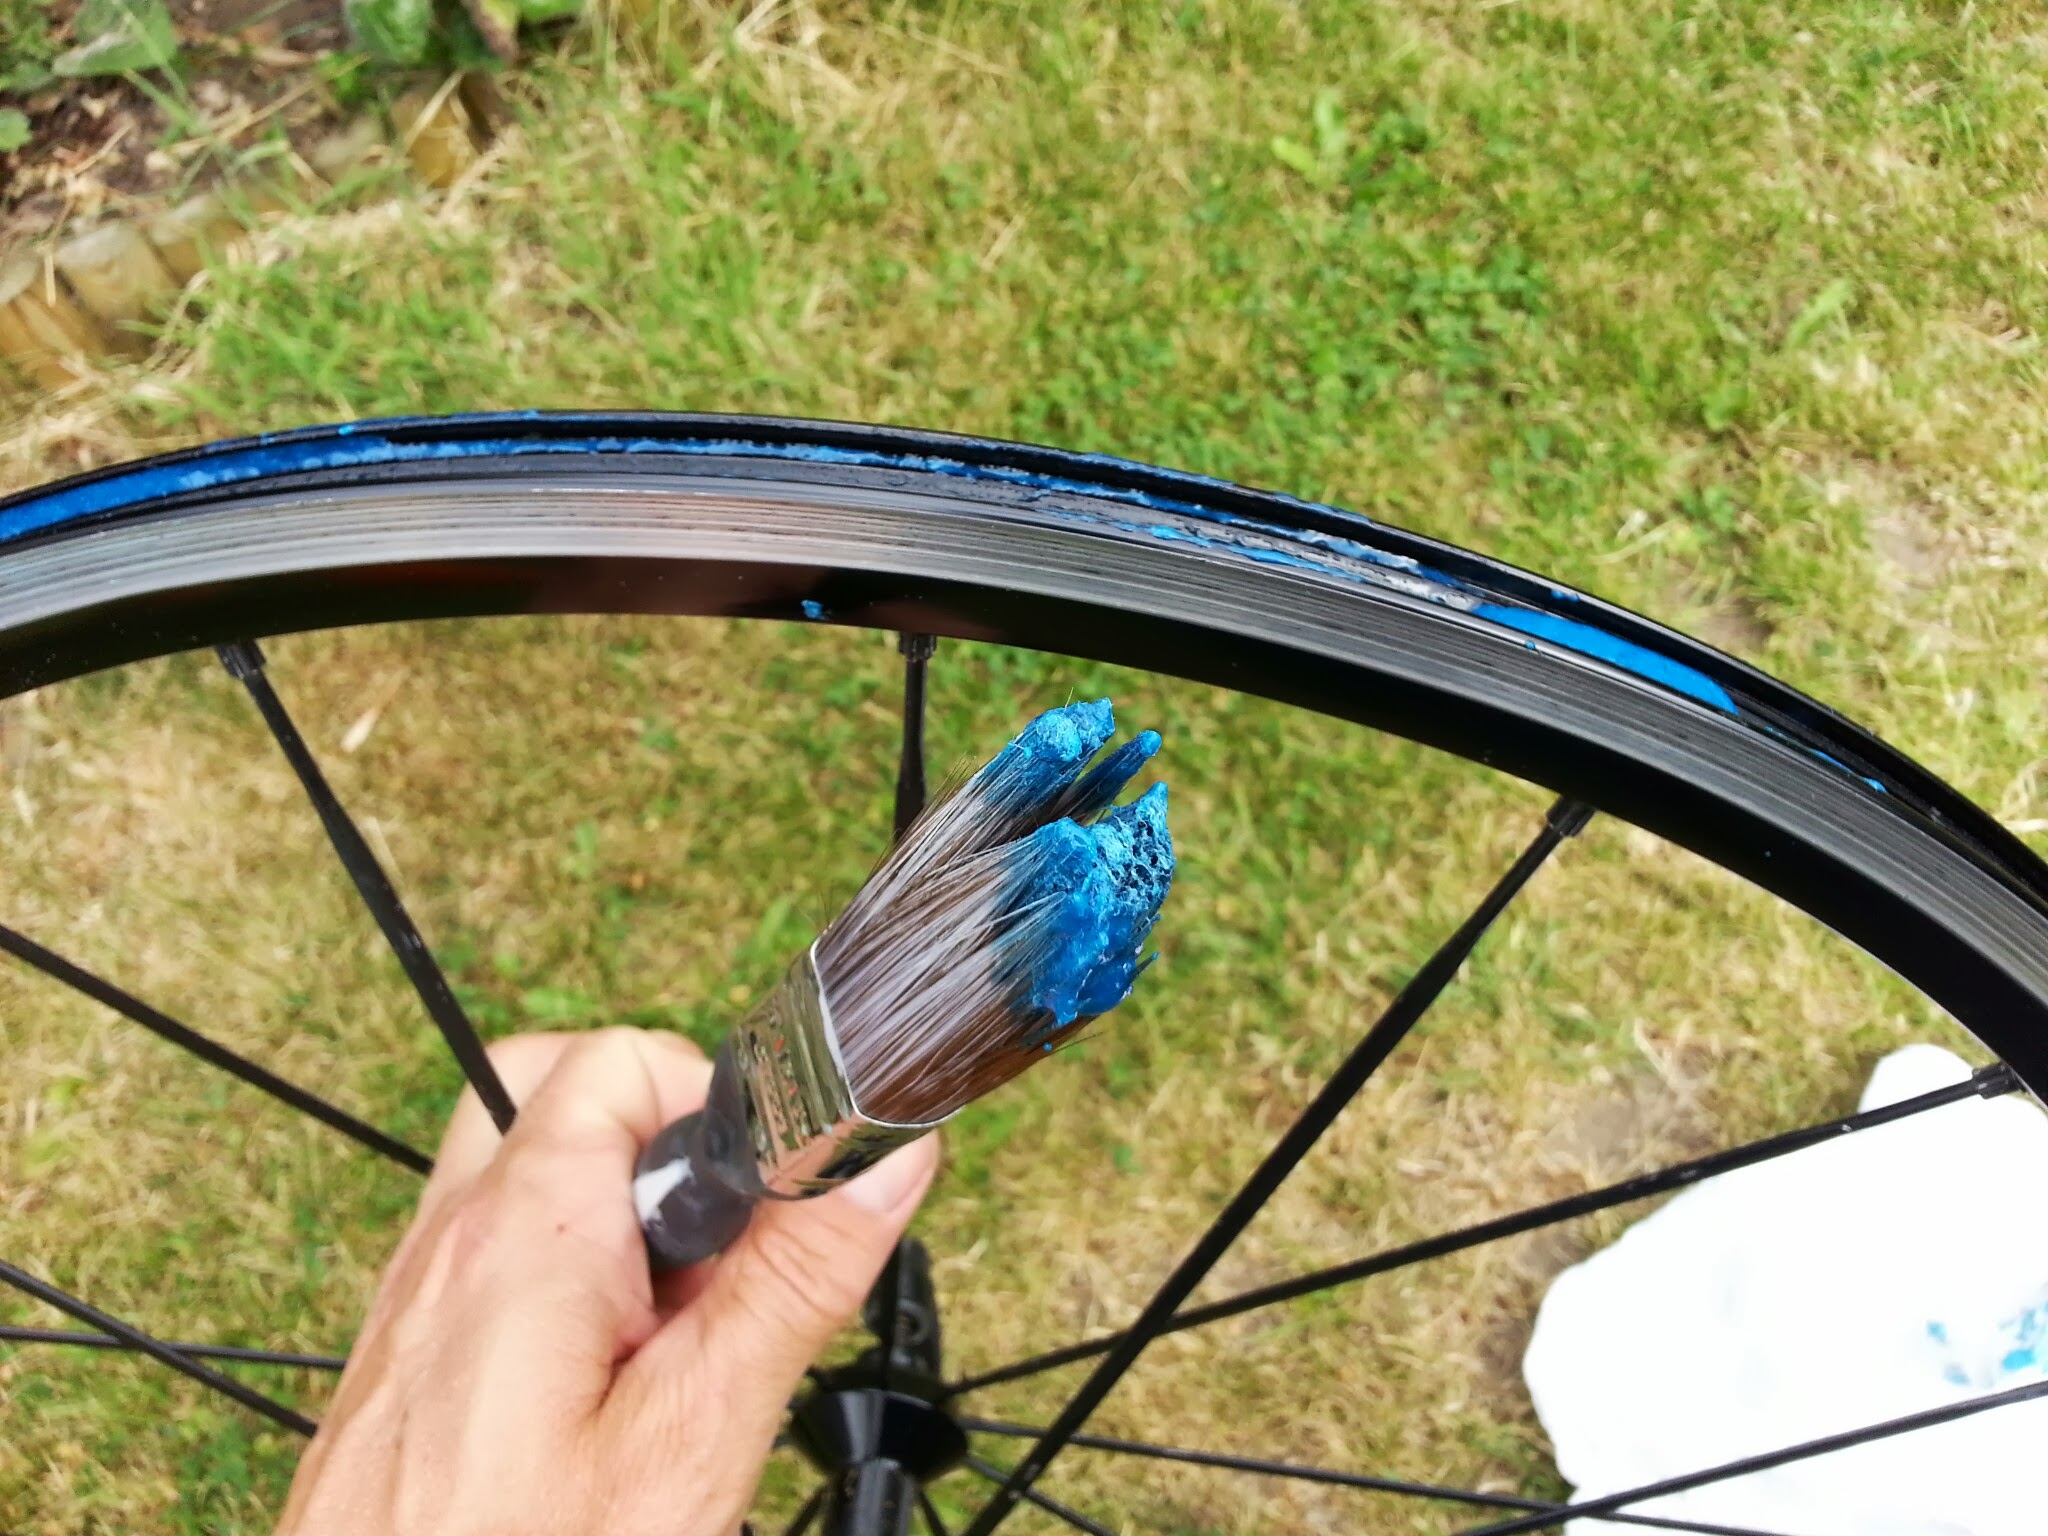
Painting on Fenwicks Airtight
Rim choice seemed critical after a few attempts. Rims where there are no drillings for access to spokes in the rim’s tyre bed seemed perfect and we did get some tyres to sit as tubeless on them. However, far more important is having a rim and tyre combination which is a tight fit and hard to mount; we soon discovered that you can make just about any rim tubeless compatible with some tape and brushed on Airtight.
So for example the Mavic Ksyrium rim in the photos, though seemingly ideal, proved to be more susceptible to blowing the tyre off under inflation due to its diameter being ever so slightly less than other rims which had spoke holes. The Kysrium still worked at low pressures, but once you started to put more air in, the tyre would not stay on the rim – result a very loud bang and a lot of blue mess…
In the end, though we managed to make Airtight work for a number of tyres and rims, the amount of effort and mess involved was a bit of an issue. This is our main problem with going tubeless with tyres non-UST tyres. If you cannot be bothered to stick tubular tyres onto rims with tub glue, you will not want to do this, as it’s just as much hassle and even messier.
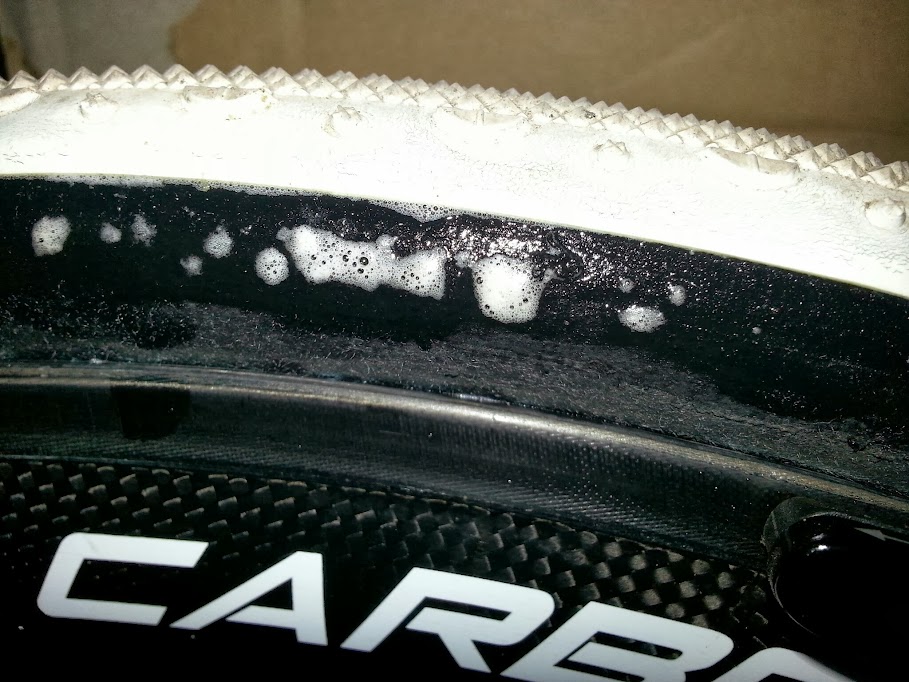
However, if you really want to go tubeless, Airtight does the trick. On the plus side we did not experience a single burp in all the time riding on our tubeless, Airtight filled creations. On the negative side, we were also unable to go above a certain pressure (usually around 50 to 60psi) without blowing the tyre off the rim, even with our tightest fitting tyre and rim combination. So it’s fine for cyclo-cross and off-road applications as long as you are wary of the tyre pressure. Forget it for road use.
The only other issue we had was with tyres leaking the sealant; for some reason they leaked more on wet days. Invariably this was with open tubular type tyres with very high TPI count. We would leave the house with 30psi in the tyres and return with barely 18psi! Still no burps nor punctures though.
Sealant issues
Most clincher manufacturers do not recommend you go tubeless with a normal clincher tyre, so we are not going to name any names, especially as more and more manufacturers are brining out tubeless ready tyres, and after trying home made tubeless, we are convinced that if you are keen on tubeless, getting a proper tubeless ready tyre is definitely the way to go.
We then discovered a way of using Airtight that we think gives cross riders the low pressure benefits of tubs without the hassle of trying to go tubeless or gluing tyres to rims…


1 Response
[…] is really the only drawback we can think of (nothing a bit of sealant can’t handle, such as Fenwick’s Airtight that we’ve been using). Another great tyre from […]