Yakima TwoTimer Bike Rack Review
by Josh Ross · 02/11/2015
Yakima TwoTimer Bike Rack Review
Josh Reviews the Yakima TwoTimer Bike Rack.
When you think about sexy bike parts, a rack rarely comes up. It’s utilitarian. But the reality is it’s incredibly important. You’ve made a substantial investment in all those sexy bike parts, and the last thing you want to do is put your beauty on a rack for a trip only to arrive with new scratches on the bike or the car. At the same time, you don’t want to spend a fortune, and you want something that is versatile enough to handle whatever bikes you’ve got.
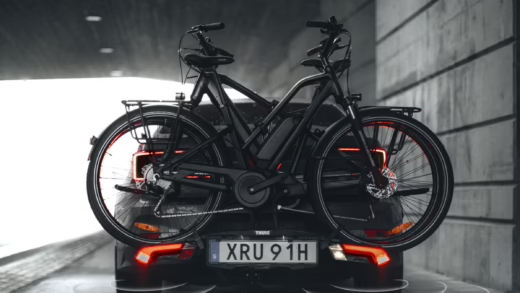
The Yakima TwoTimer will see that your pride and joy arrives at journey’s end, safe and scratch free
Generally, if you’ve never bought a bike rack before, the first type you’ll look at are the kind that strap on to the back of the car. They are super cheap, and they are the ones that are always in the advertisements. Let me stop you right there. Immediately stop looking at those. They are a pain to use, will often scratch your car, will likely scratch your bike, and if you’ve got a carbon frame, it’s generally advised that you not hang it from its top tube. These racks are not worth wasting money on.
Now that we’ve gotten past that, it’s time to make a decision. Are you going to go with a roof rack or a hitch mount? This decision is a bit more complicated as both are good options. A roof rack can be nice because once it’s installed, it’s always there. There are a couple of reasons that I personally decided against a roof rack. I’ve got a tall car, a KIA Soul, and getting a bike up on top of that would be a pain. I was also concerned about any loss of gas mileage that might occur. I decided to go for a hitch mount rack.
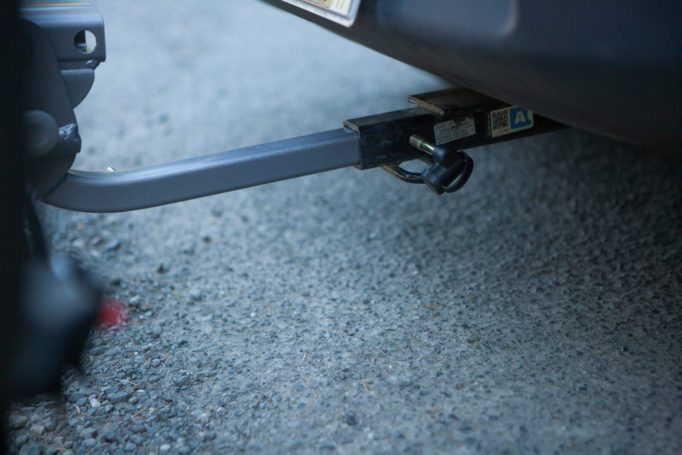
This is the type of hitch you’ll need for the Yakima TwoTimer
Choosing a hitch mount rack means that in addition to the cost of the rack you choose, you’ll also need a trailer hitch. In the case of the Soul, that meant about $100 to have a hitch installed. If you are the handy type, you can save a bit of money ordering a hitch and installing it yourself. Personally, I’m probably handy enough, but I don’t have the necessary tools, and the price of install was reasonable. I dropped it off for an hour or so and picked it up with a hitch installed.
Even though you’ve decided to go the hitch mount route, your decisions aren’t finished. When you are having your hitch installed, you may have the option, depending on your vehicle, to go with a 2” hitch or you may be limited to 1 ¼” hitch. If you have the choice, the larger hitch will give you more options for racks, so take it if you can. Generally speaking, 4 bike racks will require the larger hitch, but in many cases, your vehicle will limit your options, and you’ll be stuck with the smaller size. Don’t despair, though, lighter weight racks will have an adapter that allows you to use them with either size hitch.
When not in use the Yakima TwoTimer folds up to save space
But you still aren’t done deciding. Now you’ve got to decide if you are going with a tray style or a hanging rack. A hanging rack will be a bit cheaper, but we aren’t talking a huge savings at this point. You’ll probably only save around $100 at the low-end, and I can tell you from experience that the tray style racks are better in quite a few ways. To start with, if you’ve got a carbon frame, it’s not recommended that you hang it from the top tube. I mentioned this above, but it’s a point of contention, so I’m bringing it up again. If you are searching around, you’ll see a ton of people in forums telling you it’s fine.
It really depends on the bike and how that top tube is constructed. But even if it would work without damaging anything, it’s not recommended. Personally, I’d rather spend the extra $100 rather than cracking a frame. The other problem with hanging racks is that, in my experience, just thinking about using them means a new scratch on the bike. Even more so when you’ve got more than one bike involved.
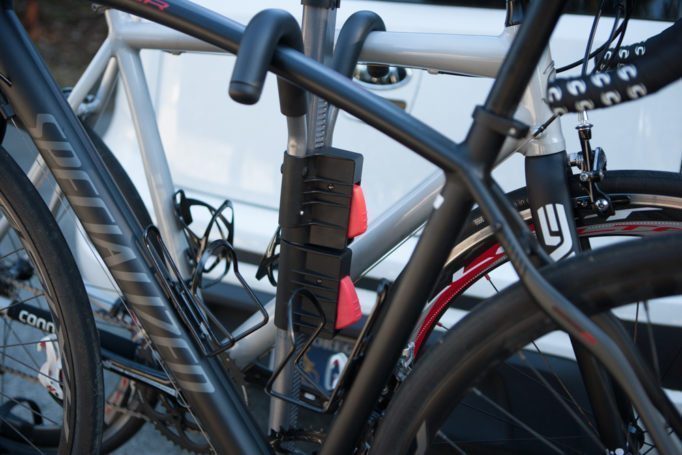
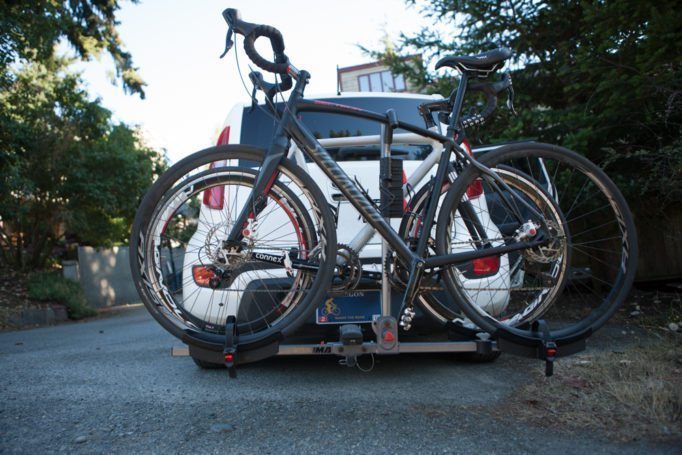
Your frame will be gently cradled by the TwoTimer, no cranking down on straps, or tightening of clamps needed
Now that we’ve come through the flowchart and arrived at a hitch mount tray style rack, lets talk about one of the best options out there. The Yakima TwoTimer is a fantastic value in this segment. I’ve been using it for a few months now, and I really don’t have anything bad at all to say about it. Installing it on to the car involves sliding the tongue into the hitch, tightening a single bolt, then adding the lock to the end of the bolt. That’s it, you are done.
One tip about the install, make sure you tighten that bolt all the way down or the rack will shake a bit. You won’t hurt anything, but it can be a bit unnerving to see the bikes moving around and it takes no real additional effort to just tighten up the bolt during the install. Once I got the rack installed, I found it incredibly easy to use. The system is very similar to racks on the public bus system in Portland, and I imagine most public transit in most parts of the world.
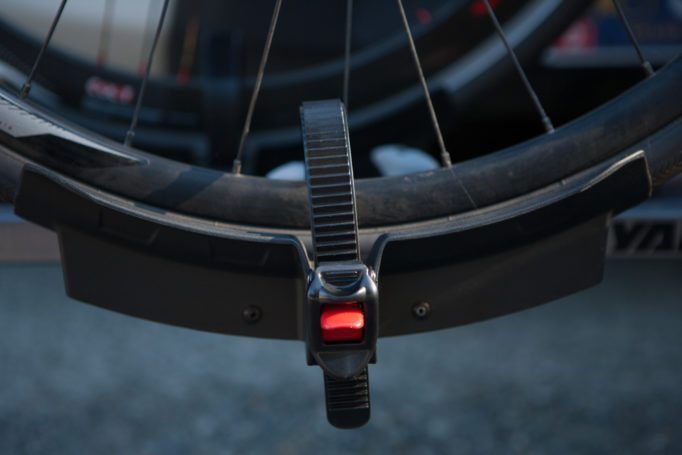
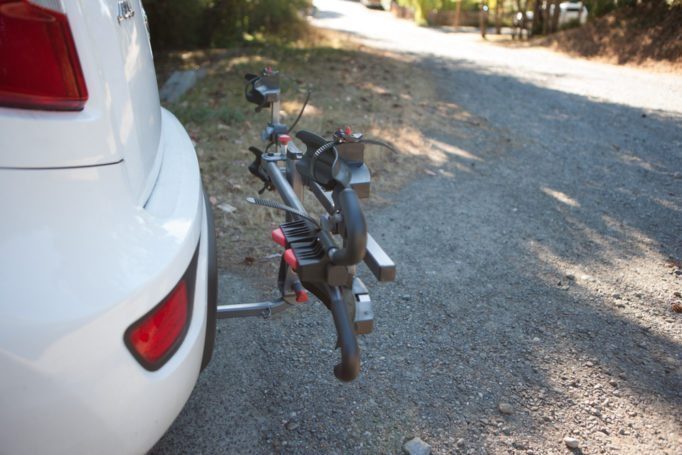
Straps to hold the wheels are fitted, although Josh found the main clamp more than enough
So if you’ve ever taken advantage of a rack on a public bus, you’ve likely used a system similar to this. It’s that easy to use. No hassling with trying to cinch down the bikes so they don’t sway. In fact, there is no adjustment of any kind after you’ve gotten the trays in the right spot. Just put your bike on the trays, lock down the arm over the top tube, no need to push on it and potentially hurt the frame, then close the strap that secures the wheels.
Personally, I don’t tighten the wheel straps for fear of scratching the rims. The way the whole system is designed, the straps aren’t really going to do anything, and the top tube clamp doesn’t need to be tight. Gravity will hold everything where it should be, and the top tube clamp just needs to keep the bikes from bouncing if you hit a bump. I’ve carried high dollar carbon climber bikes as well as the CAAD9 you’ve been reading about as the “do it all” bike project, and I even carried my wife’s Specialized, with the large slope in the top tube that is indicative of a Specialized, and never had an issue with the bikes touching or moving in any way.
Some other features I’ve really appreciated are the included lock that keeps the rack from being removed from the hitch and the generous amount of clearance between the bottom of the rack and the road surface. Those might sound like small considerations, but it’s meant I can put the rack on the night before a race and leave the car parked in the driveway without fear of waking up to a stolen rack or not being able to get out of my narrow and steep driveway. Just little things that make the Yakima Twotimer a lot more pleasant to use on a regular basis.
The bottom line here is that this is a rack that’s exceptionally easy to use with easy folding if you are the type to leave it on the car. It’s got a well thought out design that won’t hurt your bike or car, and it’s priced at the very bottom of what you’ll find when looking for a tray style rack which makes it a really fantastic value. It can also handle fat bikes, with some additional parts, if that’s something that’s a consideration for you. If you are looking for a rack, this is definitely something I would recommend.
[rps-include blog=127.0.0.1 post=30120]